


A few days ago Hashnode announced that they are partnering with Auth0 for a hackathon with some prize money on the line, but In my point of view most of you guys didn't know much about Auth0 and their SDKs. so I thought it would be a good opportunity for you to learn about them now. Therefore in this article, I am going to teach you how to integrate Auth0 with React JS ( A popular JavaScript frontend library).
Creating a react app
The first step is to create a simple react app which you can do just by running the command below in your terminal.
npx create-react-app react-auth0
This might take a while and it depends on your computer specs but once it is done go to the new directory which is created ( In our case react-auth0 ) and run npm start or yarn start. This command will start the development server for your react app. Now open this directory (In our case react-auth0) in any code editor
Cleaning up the project
Once you opened the directory in your code editor, You can see that there are many files and folders, but for this project, we don't need most of them. Let's go ahead and delete the files which we don't need. In the src folder delete all files except App.js, Index.js, and App.css.
Once you change delete everything which is inside of App.js and paste the below code instead.
import React from 'react'

export default function App() {
  return (
    <div>
      <h1>React x Auth0</h1>
    </div>
  )
}
also delete everything which is inside of Index.js and paste the below code instead.
import React from 'react';
import ReactDOM from 'react-dom';
import App from './App';

ReactDOM.render(
  <React.StrictMode>
    <App />
  </React.StrictMode>,
  document.getElementById('root')
);
and also delete everything inside of App.css. Now in the public folder delete everything except index.html. Delete everything which is inside of the index.html and instead paste the below code
<!DOCTYPE html>
<html lang="en">
  <head>
    <meta charset="utf-8" />
    <meta name="viewport" content="width=device-width, initial-scale=1" />
    <title>React x Auth-</title>
  </head>
  <body>
    <noscript>You need to enable JavaScript to run this app.</noscript>
    <div id="root"></div>
  </body>
</html>
Finally, this is how your folder structure should look like 👇
.
├── package.json
├── public
│   └── index.html
├── README.md
├── src
│   ├── App.css
│   ├── App.js
│   └── index.js
└── yarn.lock
Installing and Adding Auth0 in your project
Now It is time to install auth0 in our react application, to do that simply run
npm i @auth0/auth0-react
This will install Auth0 in your react application, once it is done your need to import Auth0Provider in index.js and wrap your React.StrictMode inside of it. It should look similar this this
import React from "react";
import ReactDOM from "react-dom";
import App from "./App";
import { Auth0Provider } from "@auth0/auth0-react";

ReactDOM.render(
  <Auth0Provider>
    <React.StrictMode>
      <App />
    </React.StrictMode>
  </Auth0Provider>,
  document.getElementById("root")
);
Auth0Provider takes two mandatory props domain, clientId and redirectUri. To get these data we need to create an application in Auth0
Creating an application in Auth0
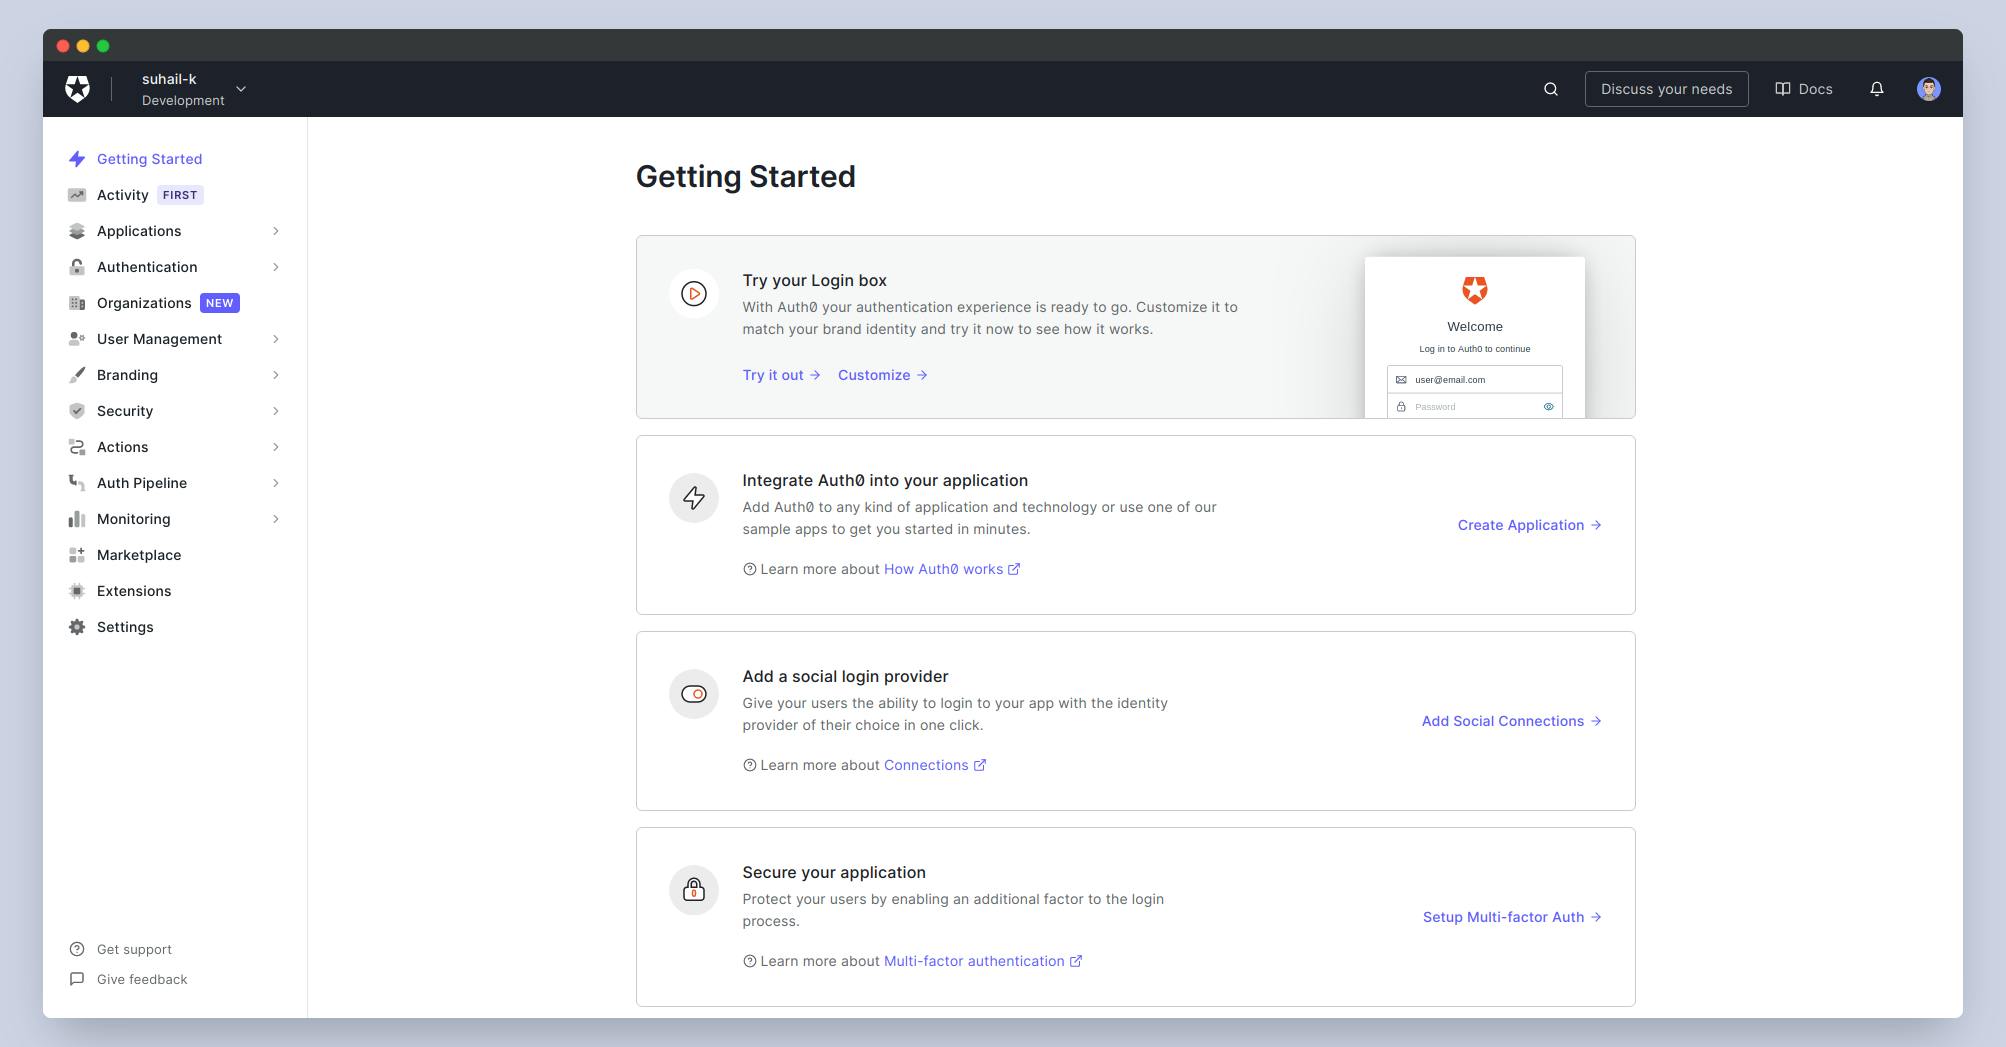
Go to auth0.com and signup for a new account, once you completed the signup process you will be redirected to your dashboard that will look similar to the below image.
 Click on Create Application ( This second box in your dashboard ), this will open a popup that you need to fill some data in it. In the name input, enter your application name and select Single Page Web Application as an application type and click on create button. Once you clicked on create, It will create the application and you will be redirected to your application dashboard. In the settings tab you can edit your application logo, type, redirect uri and etc but for now, copy the Domain and Client Id and pass them as a props to
 Auth0Provider and in the redirectUri write window.location.origin which should finally look like this
  <Auth0Provider
    domain="YOUR_AUTH0_DOMAIN"
    clientId="YOUR_AUTH0_CLIENT_ID"
    redirectUri={window.location.origin}
    >
    <React.StrictMode>
      <App />
    </React.StrictMode>
  </Auth0Provider>
The origin property returns the protocol, hostname, and port number of a URL
Creating Components
Now Let's create some UI components so that users can login, see their profile data, and logout. Therefore go ahead and create a new directory in your src folder named components. In the components create a new file named LoginButton.js.
Open LoginButton.js in your code editor and create a simple button. Here is my code for the button.
// LoginButton.js

import React from 'react'
import '../App.css'
function LoginButton(props) {
    return (
        <div>
            <button className="loginButton">Login</button>
        </div>
    )
}

export default LoginButton
  /* App.css */

body {
  background-color: #2a2a2a;
  margin: auto;
}
.loginButton {
  background-image: linear-gradient( to right, #5e93cf, #303a44);
  width: 160px;
  font-size: 16px;
  font-weight: 600;
  color: #fff;
  cursor: pointer;
  margin: 20px;
  height: 55px;
  text-align:center;
  border: none;
  background-size: 300% 100%;
  border-radius: 50px;
}
Now you need to import LoginButton.js in your App.js, once you are done your App.js should look like this
import React from 'react'
import LoginButton from './components/LoginButton'

export default function App() {
  return (
    <div>
      <LoginButton />
    </div>
  )
}
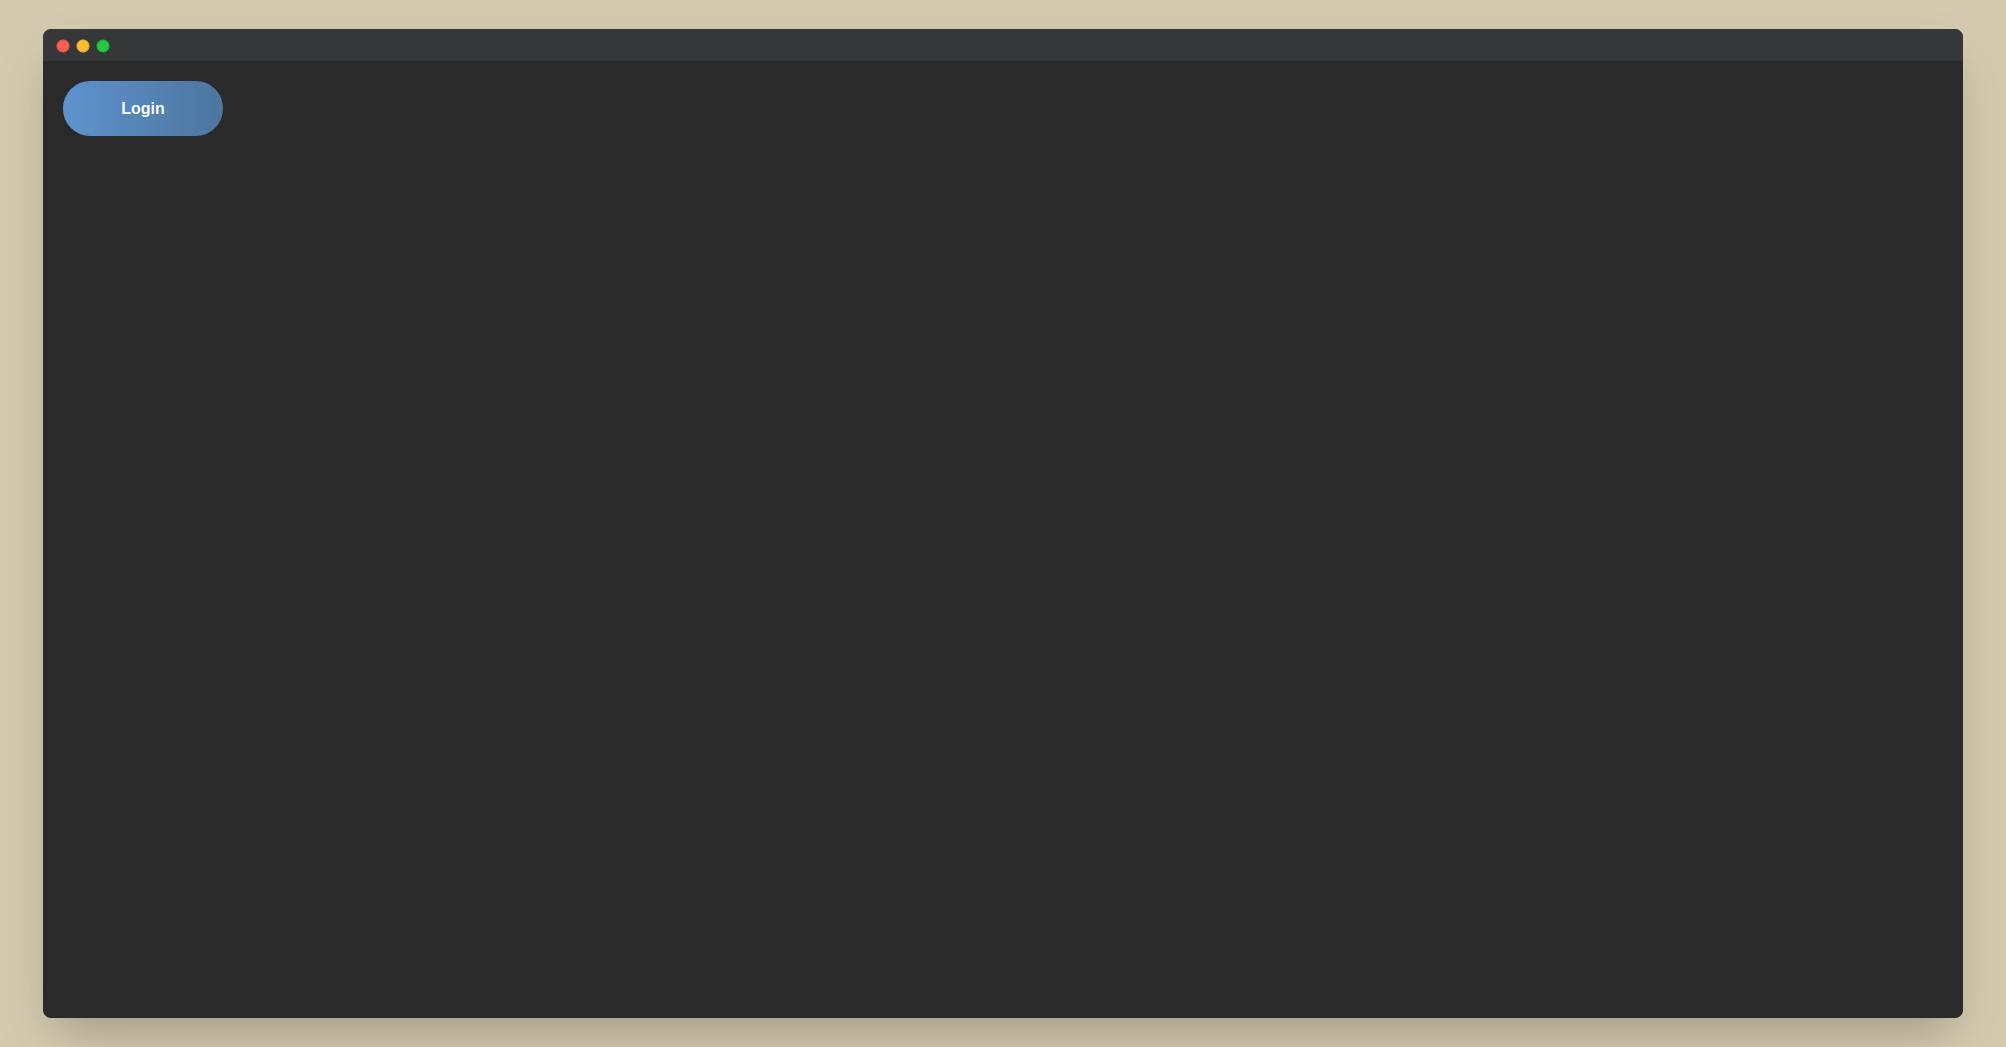
If you used my code for the button you should see an output similar to below image
Similarly use the same code for Logout, Create a new file in components directory named LogoutButton.js and paste the same code of LoginButton.js into it.
Adding Login Functionality
In your LogoutButton.js import userAuth0 from '@auth0/auth0-reactand create a constant namedLoginWithRedirect. Once you are done addonClickto button and addLoginWithRedirect`, just like the code below
// LoginButton.js

import { useAuth0 } from '@auth0/auth0-react'
import React from 'react'
import '../App.css'

function LoginButton(props) {
    const { loginWithRedirect } = useAuth0()
    return (
        <div>
            <button
                onClick={()=>loginWithRedirect()}
                className="loginButton"
                >
                Login
                </button>
        </div>
    )
}

export default LoginButton
Add
http://localhost:3000in Allowed Callback URLs, Allowed Logout URLs, Allowed Web Origins and Allowed Origins (CORS) in settings tab of your application.
and now you have login functionality in your app :)
Getting Profile Data
Now in your App.js import useAuth0 and create a constant named user. After that below LoginButton, Stringify the JSON to print it in the web page, The App.js code should look like this
import React from 'react'
import LoginButton from './components/LoginButton'
import { useAuth0 } from '@auth0/auth0-react'
export default function App() {
  const {user} = useAuth0()
  return (
    <div>
      <LoginButton />
      {JSON.stringify(user)}
    </div>
  )
}
After successful login in your app, you should see JSON data in your webpage, similar to this
{
    "given_name":"John",
    "family_name":"Doe",
    "nickname":"john.doe",
    "name":"John Doe",
    "picture":"https://lh3.googleusercontent.com/a-/AsadaASDJNASD",
    "locale":"en",
    "updated_at":"2021-08-05T06:40:00.136Z",
    "email":"john.doe@gmail.com",
    "email_verified":true,
    "sub":"google-oauth2|11707210123641293850812"
}
Adding Logout Functionality
The logout is pretty similar to login, You just need to change loginWithRedirect to logout. and you should have similar Logout component
// LogoutButton.js
import { useAuth0 } from '@auth0/auth0-react'
import React from 'react'
import '../App.css'

function Logout(props) {
    const { logout } = useAuth0()
    return (
        <div>
            <button
                onClick={()=>logout()}
                className="loginButton"
                >
                Logout
                </button>
        </div>
    )
}

export default Logout
Now, When the user clicks on logout, It will remove the profile data of the user :)
Conclusion
I hope you found this article helpful. If you need any help please let me know in the comment section.
Looking forward to see your submission for this hackathon 🔥
Let's connect on Twitter and LinkedIn
👋 Thanks for reading, See you next time